

Introduction
Are you new to Git and unsure of where to start? Look no further! Git is a popular version control system that allows you to track changes to your code and collaborate with others on your projects. In this blog, we will cover the basics of Git and provide a step-by-step guide on how to get started. You'll learn about the benefits of using Git, how to set up a repository, and how to commit and push changes to your code. By the end of this blog, you'll have a solid foundation in Git and be able to confidently incorporate it into your workflow. But first, let's answer this question...
Why use Git?
Git is a valuable tool for any developer, as it allows you to track changes to your code and collaborate with others on your projects. It also makes it easy to revert back to previous versions of your code if you make a mistake or want to experiment with different approaches. Additionally, Git provides a way to manage and organize your code, making it easier to keep track of your progress and share your work with others.
Installing Git
To install git, you will need to have access to a terminal or command prompt. If you are using a Mac or Linux, the terminal is already installed on your system. If you are running a Windows machine, you can download it for free from http://git-scm.com.
I'm currently using Ubuntu 22.0.4, so the steps for setting and installing git are performed according to linux but it is more or less the same steps if you own a Windows or a Mac machine.
Once you have access to a terminal or command prompt, follow these steps to install git:
Open the terminal or command prompt and type the following command:
sudo apt-get install gitThis will download and install git on your system. You may be prompted to enter your password to continue.
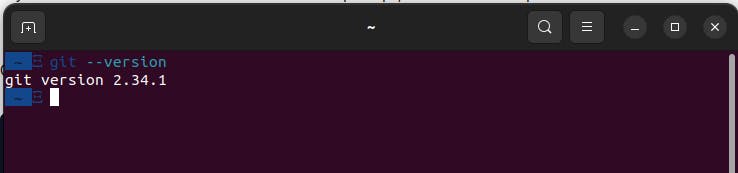
After git has been installed, you can verify the installation by typing the following command:
git --version
Running our first Git command
So, we have Git up and running! Are you excited? Let's begin to type!
You might be daunted by the jargon used by devs while working with git like "git commit it bro", "pull it", "git merge it to the main branch" etc.

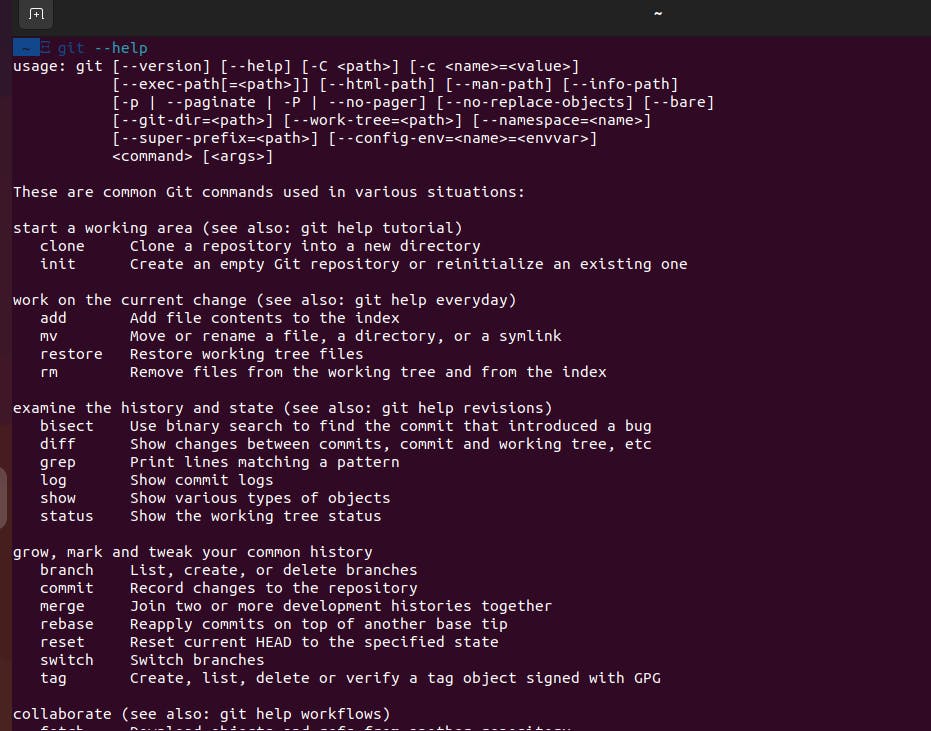
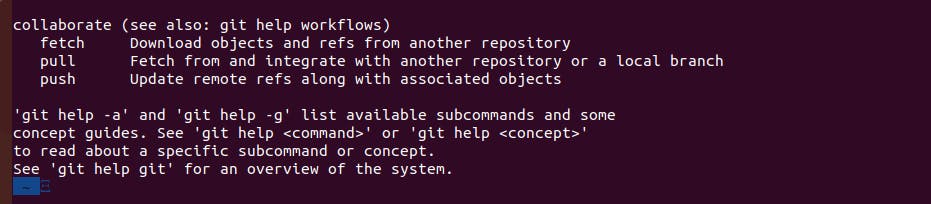
You can get an idea about these commands from git itself by typing
git --help
Setting up a new repository
The first step is to set up a new repository (or repo, for short). A repo is a container for your entire project; every file or subfolder within it belongs to that repository, consistently. Physically, a repository is nothing other than a folder that contains a special .git folder, the folder where the magic happens.
Let's try to make our first repo. Choose a folder you like, and type the git init command, as shown here:
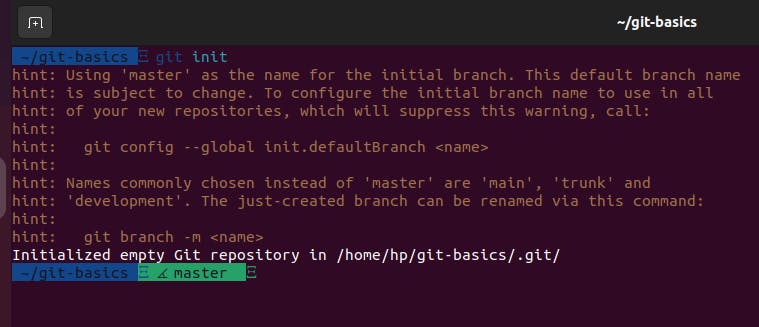
Whoa! What just happened? Git created a .git subfolder. At this point, it is not important for us to understand what is inside this folder. The only thing you have to know is that you do not have to touch it, ever! If you delete it or if you modify files inside by hand, you could get into trouble. Have I frightened you enough?
Now that we have a repo, we can start to put files inside it. Git can trace the history of any gender of files, text-based or binary, small or large, with the same efficiency (more or less, large files are always a problem).
Adding a File
Let's create a text file just to give it a try.

And now what? Is that all? No! We have to tell Git to put this file in your repo, explicitly. Git doesn't do anything that you don't want it to. If you have some spare files or temp ones in your repo, Git will not be compatible with them, but will only remind you that there are some files in your repo that are not under version control. You can also see the color of the `master` branch changed from green to brown, which indicates that I have some uncommitted files in my current repo. It happened because I'm ayu theme of fish shell.
fish is a smart and user-friendly command line shell for macOS, Linux, and the rest of the family. fish includes features like syntax highlighting, autosuggest-as-you-type, and fancy tab completions that just work, with no configuration required.
Ok, back to the topic. I want git.txt under the control of Git, so let's add it, as shown here:

The git add <file> command tells Git that we want it to take care of that file and check it for future modifications. Has Git obeyed us? Let's see.
Using the git status command, we can check the status of the repo, as shown
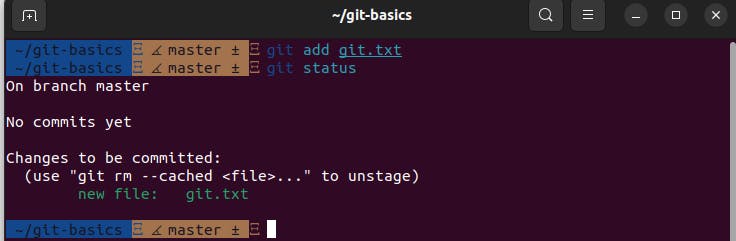
As we can see, Git has accomplished its work as expected. In this image, we can read words such as branch, master, commit and unstage. We will look at them briefly, but for the moment, let's ignore them.
"Commit"-ing the added file
At this point, Git knows about git.txt, but we have to perform another step to fix the snapshot of its content. We have to commit it using the appropriate git commit command. This time, we will add some flavor to our command, using the --message (or -m) subcommand, as shown here:

Feel the magic—a new branch is born!
With the commit of git.txt, we have finally fired up our repo. You can see the color has also changed back to green which means that our git is up to date.
Modify a committed file
Let's try to make some changes to the file and see how to deal with it.
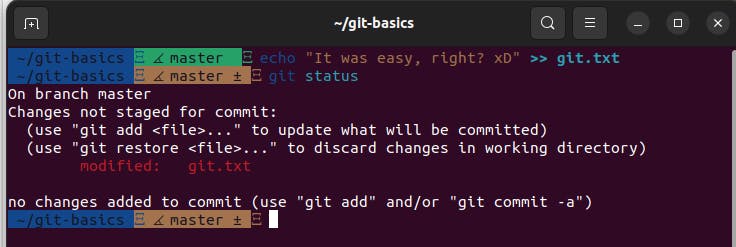
Here, the git status command informs us that there is a file with some modifications and that we need to commit it if we want to save this modification step in the repository history.
However, what do no changes added to commit mean? It is simple. Git makes you take a second look at what you want to include in the next commit.
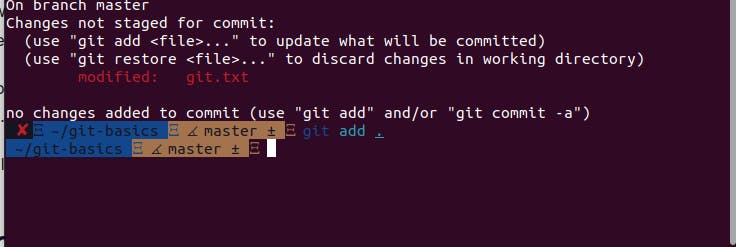
If you have touched two files but you want to commit only one, you can add only that one. If you try to do a commit without skipping the add step, nothing will happen.
So, let's add the file again for the purpose of getting things ready for the next commit
Let's do another commit, this time, avoiding the --message subcommand. So, type git commit and hit the Enter key.
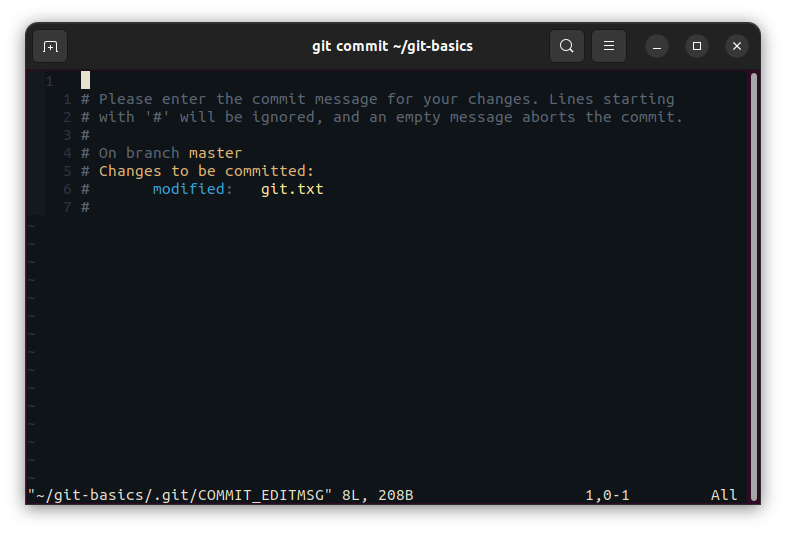
You have entered into a piece of code history! This is Vim (Vi Improved), an ancient and powerful text editor. You can configure Git to use your own preferred editor, but if you don't do it, this is what you have to deal with. Vim is powerful, but for newcomers, it can be a pain to use. It has a strange way of dealing with text, so to start typing, you have to press i for inserting text or
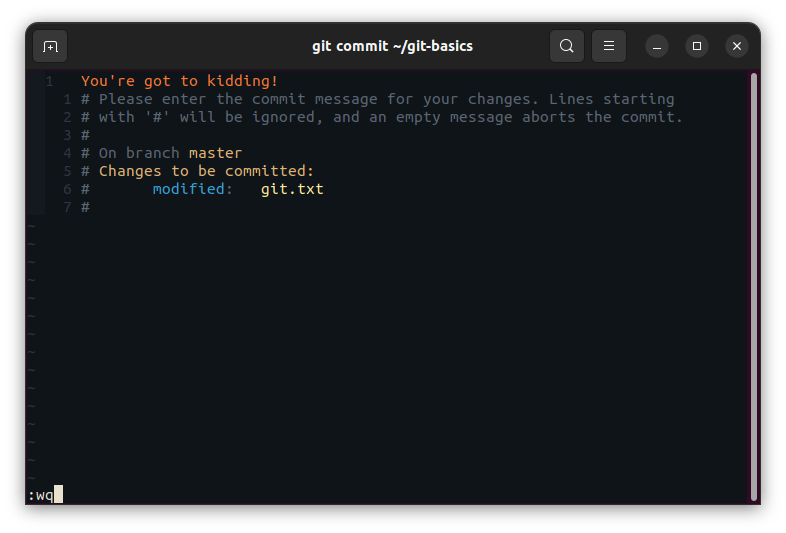
After writing the commit message press Ctrl + c or Escto get out of insert mode and press :wq to save and exit Vim.

Note that when you saved the commit message in Vim, Git automatically dispatches the commit work.
Well done! Now, let's recap!
Conclusion
In this article, you learned that Git is not so difficult to install.
Once you have chosen a directory to include in a Git repository, you can see that initializing a new Git repository is as easy as executing a git init command, and nothing more. Don't worry now about saving it on a remote server and so on. It's not mandatory to save it; you can do this when you need to, preserving the entire history of your repo. This is a killer feature of Git and DVCS in general. You can comfortably work offline and push your work to a remote location when the network is available, without hassle.
In the end, we discovered one of the most important character traits of Git: it will do nothing if you don't mention it explicitly. You also learned a little bit about the add command. We were obliged to perform a git add command for a file when we committed it to Git the very first time. Then, we used another command when we modified it. This is because if you modify a file, Git does not expect that you want it to be automatically added to the next commit.
If you liked this blog, consider following me here and on other social media platforms.
Bye!